
GONE Fishing Guide: Bait, Quotas, and 1.0 Progression
Use this GONE Fishing guide to master bait, meet daily quotas, build trinket combos, and understand 1.0 progression before chasing the lake's rarest fish.
Jump to
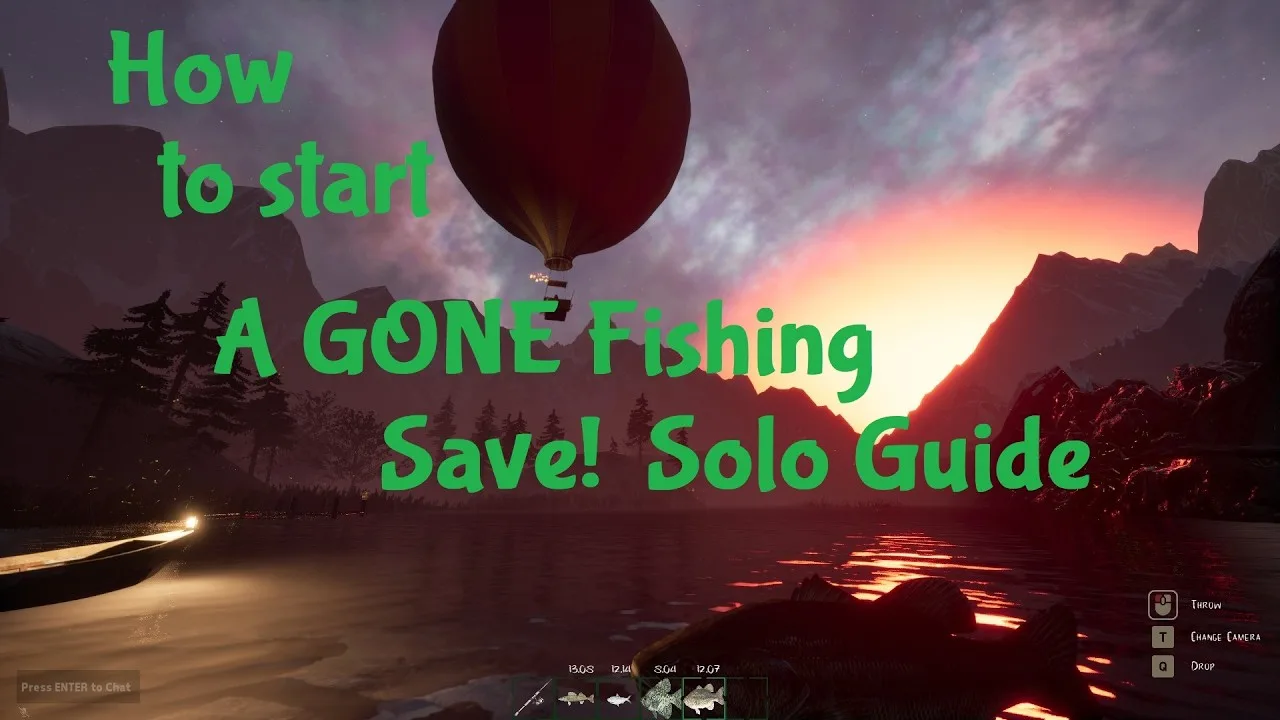
GONE Fishing Guide: How to Survive Your First Days
The lake wants dinner, and an impressive catch means little if you sell everything before feeding it. This GONE Fishing guide starts with the daily routine that keeps your run alive: gather bait, catch fish, satisfy the altar, and turn surplus catches into upgrades. Follow this GONE Fishing guide through the 1.0 progression changes, and you can build toward stronger fishing without chasing outdated upgrade paths.
GONE Fishing supports 1–8 players, including solo play. Your daily quota represents the lake’s hunger, and that requirement grows as your run continues.
Choose Your Difficulty Before Committing
Use Peaceful to learn fishing and navigation with reduced danger. Catches on Peaceful do not contribute to leaderboard scores. Average Angler provides the standard difficulty, while Fishing Veteran and Jeremy Wade increase the challenge.
Jeremy Wade enables hardcore play: a game over deletes the save. Start elsewhere while learning the map, fishing controls, and daily schedule.
Enable the in-game guide during your opening runs. Its prompts help explain fishing and progression while you play.
Build Your Day Around the Altar
| Daily task | What to do |
|---|---|
| Gather bait | Search nearby spawn locations and harvest ready traps |
| Catch fish | Begin near the cabin while learning the fishing minigames |
| Increase catch value | Cook fish before sacrificing or selling them |
| Fill the quota | Deposit catches into the altar and watch its indicators |
| Fund progression | Sell surplus fish to the traveling merchant |
| Prepare for tomorrow | Bait fish traps and preserve catches you intend to keep |
The altar’s flame turns blue when the quota is satisfied. Check that signal before committing your remaining catches to shopping.
Keep quota fish separate from fish intended for sale. Selling a valuable catch creates gold, but it does not feed the lake. In multiplayer, tell your teammates which pile serves each purpose.
Version 1.0 also revised multiplayer quota growth and purchase prices. Both now account for the reduced productivity that comes with additional players, rather than scaling directly with head count.
Learn the Fishing Rhythm and Get More From Each Catch
The fishing controls have two distinct stages: setting the hook and managing the fight. Learn them close to the cabin before taking valuable bait farther afield.
- Equip your fishing rod.
- Open your tackle box with Tab and select bait.
- Aim toward the water, hold the left mouse button to build casting power, and release.
- Wait for a bite, then click when the strike indicator reaches the central target area.
- Watch the fight meter. Hold the left mouse button when it drops; release when it rises toward the top.
Do not immediately hold the reel button throughout the fight. Fish can push the meter upward without your input, so respond to its movement.
You can fish without bait, although those catches generally offer less value. Use that option when your tackle box is empty and you still need fish.
Understand Depth, Bait Score, and Weight
Bait quality, fishing depth, weather, and days survived influence bait score and the catches available to you. Some species also require particular bait.
Carry a depth finder to see the depth at your bobber. Use that information to compare fishing spots instead of judging depth by casting distance alone.
Keep bait score, fish value, and fish weight separate in your planning. Later balance changes moved several bonuses toward bait score and value, so higher bait score does not simply mean every fish becomes heavier.
This GONE Fishing guide prioritizes reliable catches over risky exploration while your quota remains unfinished.
Cook Before You Cash In
Cooking increases a fish’s value for both the altar and the merchant. Place catches on a working stove or grill and wait until they finish; cooking time depends on size.
Look for the cooked appearance before collecting them. Buy a large grill when you need to process more fish together, and visit Jeb for its value-related upgrade.
Find Lake Bait and Establish Overnight Traps
On the Lake map, several bait routes begin around the cabins. Learn those nearby locations before making cave trips part of your daily routine.

| Bait | Lake location |
|---|---|
| Worm | Around the starting cabin |
| Frog | Near the cabins and the island between them |
| Cockroach | Inside the cave near the gambling pool |
| Lizard | Around the altar, nearby trees, and a cabin spawn location |
| Spider | Inside a cabin |
| Turtle | Behind the cabin; two are accessible without a boat |
| Duck | At the small pond along the left path |
Collect nearby bait before traveling deeper into the map. Cave routes also contain scorpions, crabs, and rats, but those trips take you farther from your opening fishing area.
Use the GONE Fishing interactive map to locate bait spawns, structures, and enemy spawns. Its depth heatmap can also help you plan fishing destinations.
Use the 1.0 Trap Routine
An important distinction in this GONE Fishing guide is that 1.0 traps collect their contents overnight. Repeatedly picking up and replacing a minnow trap is an older method.
| Trap | Overnight function | Additional requirement or detail |
|---|---|---|
| Minnow Trap | Collects bait | Harvest it in the morning |
| Crab Trap | Collects bait | Harvest it in the morning |
| Rabbit/Raccoon trap | Collects bait | Watch your footing around the trap |
| Fish Trap | Collects fish | Add bait from your tackle box |
Fish Trap catches depend on the value of the bait you place inside. Jeb sells an upgrade that lets a Fish Trap collect up to three fish per bait.
Pair bait traps with Fish Traps to create a repeatable daily supply. Harvest your bait, use it to reload the fish-catching traps, and collect their catches the following morning.
Both bait traps and Fish Traps can appear as map loot when starting a new run. Check around your starting area before spending gold on additional equipment.
Build Your 1.0 Progression Around Trinket Combos
Version 1.0 shifted progression away from the old line, rod, and sinker upgrade system toward eight trinkets sold by Clinket. Build around their effects instead of following an Early Access shopping order.
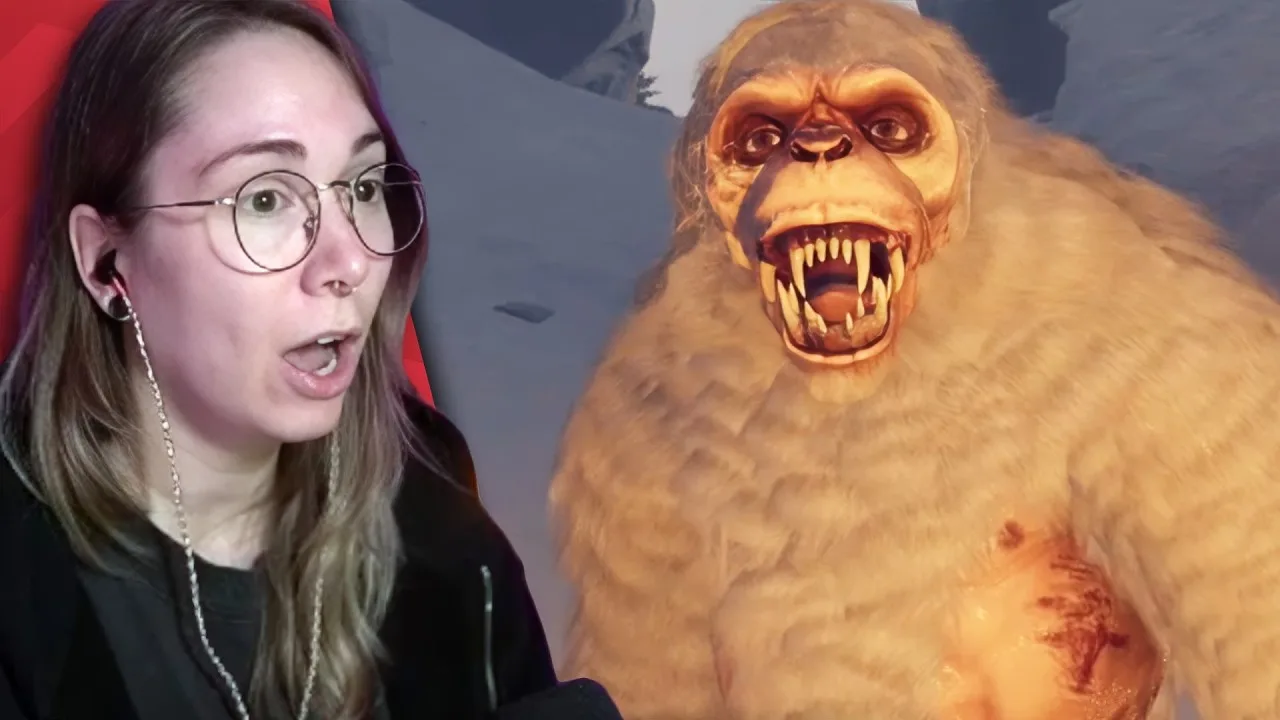
Trinket purchases and upgrades are shared with your friends. Coordinate spending so the group develops combinations together.
| Trinket | Effect |
|---|---|
| Iron worm | Chance to retain bait after catching a fish |
| Hungry hook | Chance to get an immediate bite when casting |
| Gambler's Doubloon | Chance to multiply a fish’s value |
| Devil's Ember | Chance to instantly smoke a caught fish |
| Deadman's Hand | Chance to reel in a fish instantly |
| Siren's Conch | Increases legendary and mythic catch odds |
| Captain's Stopwatch | Chance to complete the initial strike minigame perfectly |
| Bassweiser | Chance to gain a buzz from catching a fish |
Combine Effects That Cover Different Fishing Stages
Hungry hook, Captain's Stopwatch, and Deadman's Hand cover the bite, hook-setting, and reeling stages. When all three activate together, the fish reaches your inventory as soon as the bobber hits the water.
Build toward that combination to shorten the active fishing sequence. Choose Iron worm when you want a chance to preserve bait, or invest in Siren's Conch when targeting legendary and mythic catches.
The progression advice in this GONE Fishing guide centers on matching purchases to the fishing task you want to improve.
Keep Totems and Perks in Your Plan
Totems provide benefits across the current save, and Jeb handles their upgrades. Fish Frenzy speeds up bites, Golden Catch increases fish value, and Timeless Light extends the day.
Bountiful Bait changed in 1.0: it now gives a percentage chance to receive two bait from a trap instead of one. Build trap capacity alongside it to make use of that effect.
Perks serve a different role. You can select up to two when starting, and their benefits generally apply to the player who chose them. Fish Whisperer increases average fish size by 5%, while Trained Runner increases sprint speed.
Read each perk’s effect before choosing. Coordinate trinkets as a group, but select personal perks around your own responsibilities.
Preserve Your Progress and Prepare for the MOBY
Once your quota routine is dependable, start turning daily surplus into resources for longer runs.
Fish smokers preserve catches overnight. Clams accept fish and convert them into pearls overnight, increasing their value while providing something that does not rot like an untreated fish.
Use those systems before stockpiling catches across multiple days. A worm horn also helps with transport by recalling fish left on the ground to the front of the cabin.
Protect Hearts Before Turning Them Into Bait
Hearts have survival uses: sacrificing one can revive a dead teammate, and they can provide protection against a game over in hardcore play.
Chopping a heart at the butcher table produces tier 6 bait. That bait has a score of 99 and doubles an eligible legendary or mythic catch chance. For example, a chance of 1 in 50 becomes 1 in 25.
Reserve hearts for survival before converting them into fishing supplies. The 1.0 butcher-table change also provides two hearts after defeating the boss and upgrading the table.
Follow the Current MOBY Unlock
In 1.0, defeating the boss unlocks the MOBY. Visit Jeb to investigate the new bait connected to the Lake Entity encounter.
The Rhizo is a mythical fish found in deep water on the Lake map. Catching it requires defeating the boss and acquiring the MOBY rod.
Keep that order in mind as you progress: establish your daily income, develop trinket combinations, prepare for the boss, and then pursue the Rhizo.
Avoid Gambling Away Your Quota
The gambling pool can increase or reduce a fish’s value. Keep catches needed for the altar out of it, and gamble surplus fish only when you can absorb a loss.
Use this GONE Fishing guide’s daily routine before chasing jackpots. A finished quota leaves you more room to experiment with rare bait, dangerous routes, and expensive purchases.
FAQ
What should I do first in this GONE Fishing guide?
Collect bait near the cabin, practice setting the hook and controlling the fight meter, then cook and sacrifice catches. Check for the altar’s blue flame before selling your remaining fish.
Can I play GONE Fishing solo?
Yes. GONE Fishing supports 1–8 players, including solo play. You can host a private session for friends or join a public server.
How do traps work in GONE Fishing 1.0?
Bait traps collect bait overnight for morning harvesting. Fish Traps also work overnight but require bait from your tackle box. Jeb’s Fish Trap upgrade allows up to three fish per bait.
How do I unlock the MOBY rod?
Defeat the boss in version 1.0. Jeb’s new bait leads toward the Lake Entity encounter. After unlocking the MOBY, you can pursue the Rhizo in the Lake’s deep water.
Continue with
 GONE Fishing Jeremy Wade Difficulty: Survival GuideMaster GONE Fishing Jeremy Wade difficulty with quota strategies, trinket combos, trap setups, and solo survival tips for a stronger run in version 1.0.
More in Guides
GONE Fishing Achievements: Unlock Guide for Version 1.0
Track GONE Fishing achievements with survival milestones, fish weight goals, hidden secrets, and 1.0 boss rewards. Plan your route toward full completion.
GONE Fishing Quota Guide: Meet the Target and Survive
Meet your GONE Fishing quota with smarter altar offerings, cooking, shared trinkets, and overnight traps. Learn how to keep your crew alive in version 1.0.
Join the community
Official channels for news, updates and player help: