GONE Fishing Fishing Pole Guide: Cast, Reel, and MOBY
Master the GONE Fishing fishing pole with casting controls, reeling tips, 1.0 trinket combos, and the MOBY unlock path. Prepare for tougher catches today.
Jump to
Where to Find Your Fishing Pole
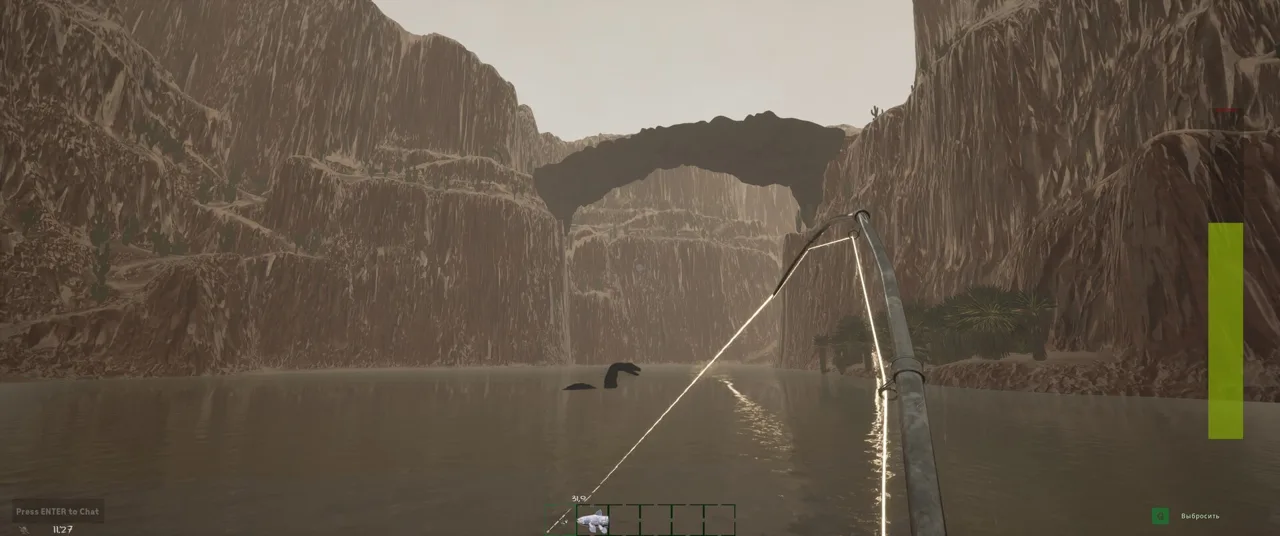
Your GONE Fishing fishing pole stands between a successful fishing day and becoming the lake’s next meal. Look for one in the main spawn cabin, other cabins, and scattered structures, or purchase one from the trader. Learning the GONE Fishing fishing pole means getting comfortable with casting, hook timing, and controlled reeling while building toward the MOBY rod in version 1.0.
GONE Fishing supports solo play and groups of up to eight players, but everyone shares the same urgent problem: the lake needs feeding. Catching fish supplies your daily quota, while selling surplus catches gives you currency for items and progression.
Start your search close to the cabin. Check nearby structures before spending gold, and keep some bait ready so finding a rod immediately turns into fishing time.
| Place to check | How you obtain the pole |
|---|---|
| Main spawn cabin | Find a pole among environmental item spawns |
| Other cabins and structures | Search for additional spawned poles |
| Trader | Purchase a fishing pole |
Once you have a pole, select it in your hotbar. Open your inventory with Tab, then click bait such as a Worm or Minnow to prepare for fishing.
The GONE Fishing fishing pole uses bait as part of the catch selection process. Keep spare bait available, especially when you plan to fish away from the cabin. Returning empty-handed because you exhausted your bait wastes time that could have gone toward quota.
Official page: GONE Fishing (gonefishing.gg)
How to Cast, Set the Hook, and Reel
Fishing involves separate casting, strike, and reeling stages. Treat each stage as its own input check: charge the cast, time the hook, then manage tension.
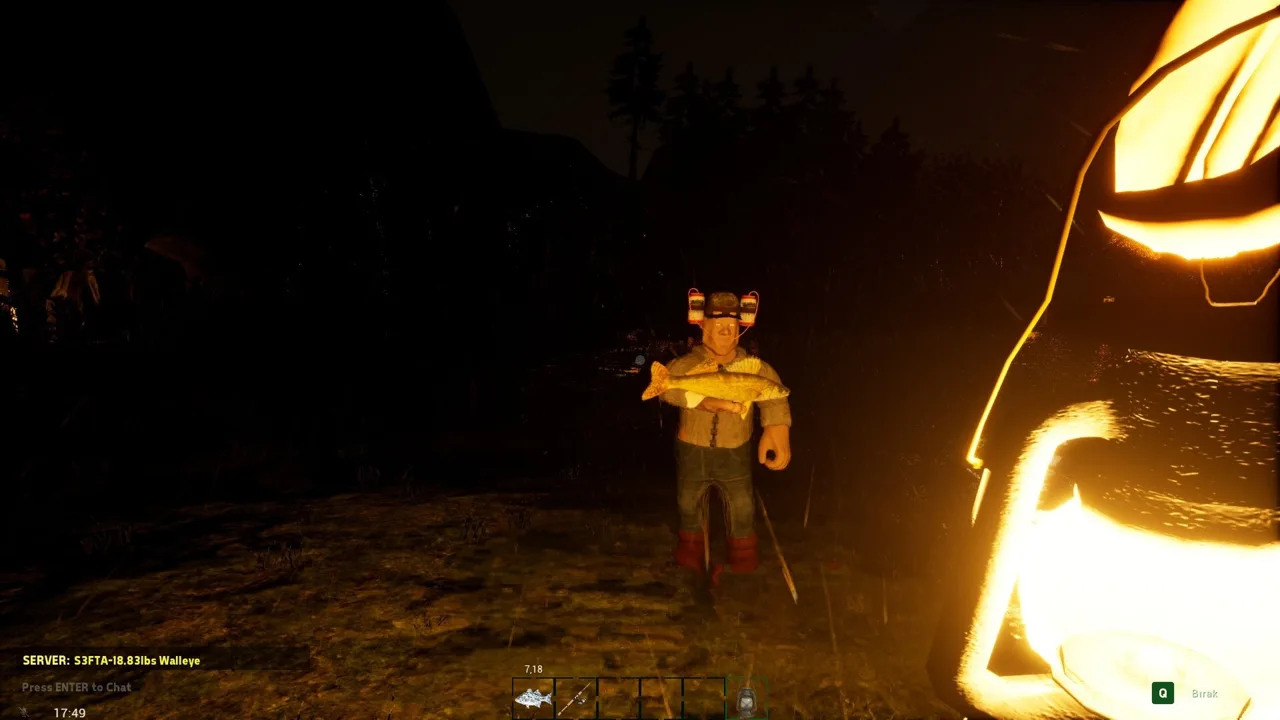 Image: Steam / GONE Studios
The default mouse control is left mouse button, also called Mouse 1 or LMB.
| Stage | Default action | What to watch |
|---|---|---|
| Prepare | Select the pole and click bait in your inventory | Bait selection before casting |
| Cast | Hold LMB to build power, then release | Where the bobber lands |
| Wait for a bite | Watch the bobber and fishing prompt | The start of the strike event |
| Set the hook | Click LMB when the red marker reaches the green zone | Smaller excellent and perfect timing bars |
| Reel | Hold LMB to reel; release to reduce tension | The tension indicator and green zone |
Aim Your Cast Deliberately
Holding LMB charges casting power. Release when you are ready to send the line out.
Aim for a fishing spot you can handle. Water depth affects the size of your catches, and deeper water increases average fish size. That makes deep spots tempting, but it also gives beginners a reason to exercise restraint.
Practice in shallower water while you learn the controls. Move toward deeper spots as your fishing setup improves. If you have a depth finder, use it to identify deep water rather than judging depth by how far you cast.
Time the Strike
After a fish bites, click when the moving red marker enters the green zone. Smaller bars within that zone mark excellent and perfect hooks.
A more accurate hook makes the catch easier to reel in. Aim toward the central timing bars instead of clicking as soon as the prompt appears.
When your GONE Fishing fishing pole keeps losing promising catches, pay attention to the strike before changing your fishing location. A weak hook can make a difficult fish harder to secure.
Control Tension During the Fight
Hold LMB to reel in and release it to lower tension. Keep the tension indicator in the green zone.
Watch the indicator before committing to a long hold. Let tension begin dropping, then reel while there is room to do so safely. Release when tension climbs, and resume as it falls.
Avoid turning every bite into a contest of holding the mouse button longer. Controlled pauses are part of landing the fish.
Fishing Pole Progression in Version 1.0
Version 1.0 changes how fishing progression works. The earlier line, rod, and sinker system gives way to a progression system centered on eight upgradeable trinkets from Clinket.
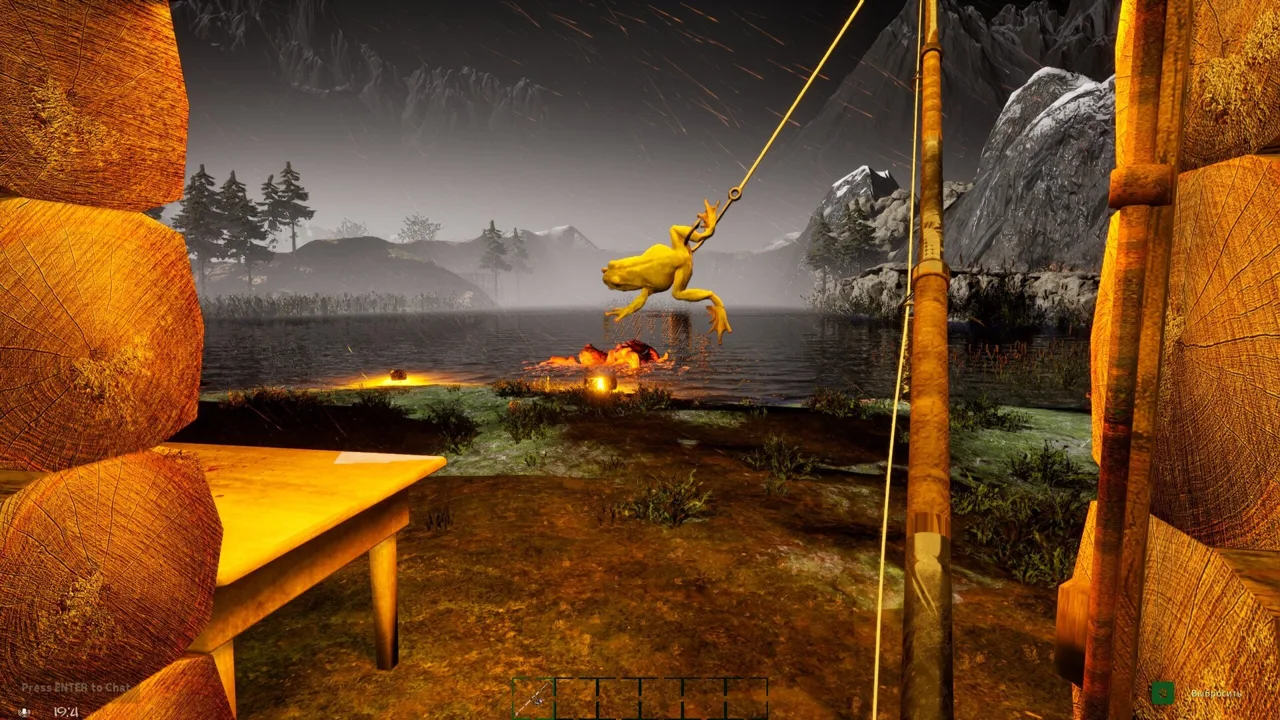 Image: Steam / GONE Studios
Older upgrade advice focused on purchasing stronger line, faster rods, and better sinkers. For a GONE Fishing fishing pole setup in 1.0, build around the trinket effects that support your current fishing goals.
Trinket purchases and upgrades are shared with your friends. Coordinate purchases so the group works toward useful combinations together.
| Trinket | Effect |
|---|---|
| Iron worm | Chance to retain bait after catching a fish |
| Hungry hook | Chance to get an immediate bite when casting |
| Gambler's Doubloon | Chance to multiply a fish’s value |
| Devil's Ember | Chance to instantly smoke a caught fish |
| Deadman's Hand | Chance to instantly reel in a fish |
| Siren's Conch | Improves the odds of legendary and mythic catches |
| Captain's Stopwatch | Chance to perfectly complete the first strike minigame |
| Bassweiser | Chance to get a buzz after catching a fish |
Combine Effects Across the Fishing Sequence
Hungry hook, Captain's Stopwatch, and Deadman's Hand affect different parts of the same catch:
- Hungry hook can remove the wait for a bite.
- Captain's Stopwatch can handle the strike with a perfect result.
- Deadman's Hand can complete the reel immediately.
When all three activate together, a fish can reach your inventory as soon as the bobber touches the water. Each effect depends on chance, so continue watching the fishing interface and handling any stage that remains active.
Build toward this combination if you want effects that cover the entire casting-to-catching sequence. Keep practicing manual strikes and tension control while collecting and upgrading the pieces.
Match Purchases to Your Fishing Goal
Use the trinket descriptions to guide your spending. Consider Iron worm when bait consumption is interrupting your fishing. Work toward Siren's Conch when pursuing legendary and mythic species.
Remember the distinction between catching and processing. Devil's Ember instantly smokes a catch when it activates; Gambler's Doubloon can multiply its value. Choose between those effects based on whether you are working on fish preservation or pursuing higher-value catches.
How to Unlock the MOBY Fishing Rod
In version 1.0, defeating the boss unlocks the MOBY rod. Make the boss your progression target when you are ready to move toward the Lake’s new mythical catch.
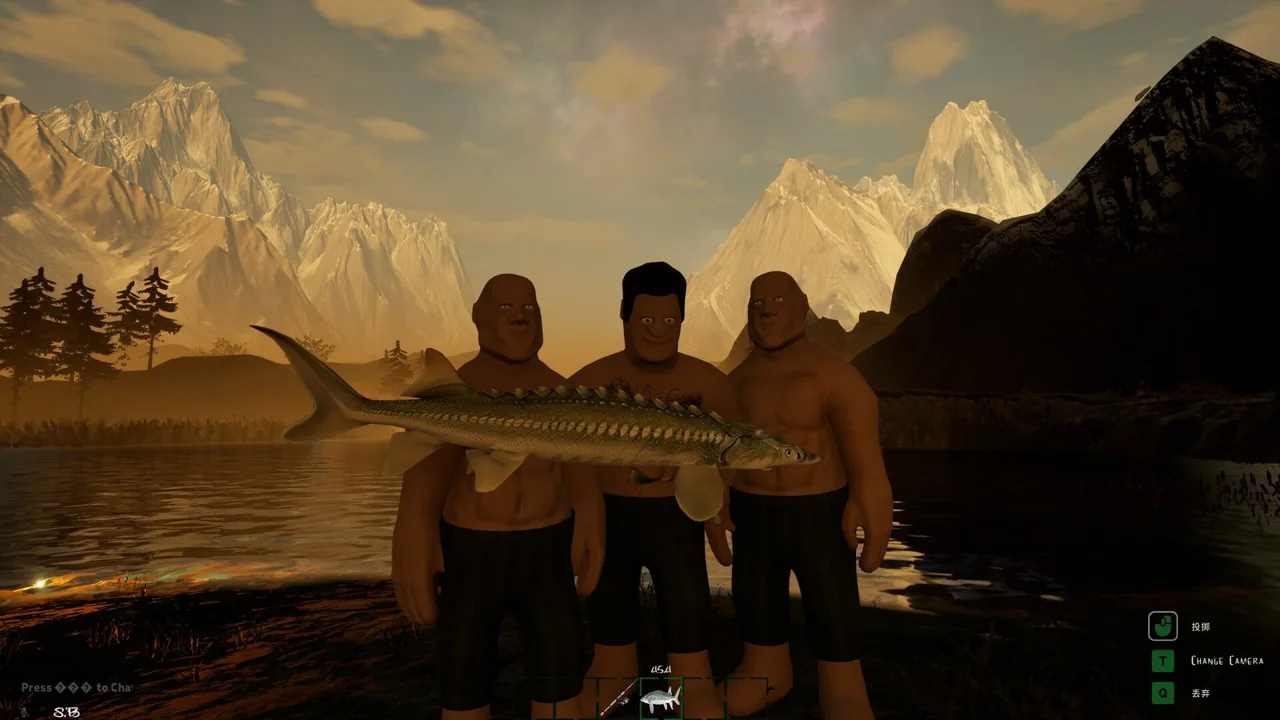 Image: Steam / GONE Studios
Visit Jeb to learn about the new bait associated with the Lake Entity encounter. Prepare for a serious challenge before using it.
The MOBY matters because the Rhizo requires it. This mythical fish lives in deep water on the Lake map and is one of the game’s more demanding catches.
| Goal | Requirement or location |
|---|---|
| Learn about the Lake Entity encounter | Visit Jeb and investigate his new bait |
| Unlock MOBY in version 1.0 | Defeat the boss |
| Pursue Rhizo | Fish deep water on the Lake map with MOBY |
| Pursue Colossal Squid | Fish in the Arctic; MOBY is recommended |
Follow the Current Unlock Path
Early Access included a legendary rod sold in Jeb’s shop, advertised with twice the strength of Tier 7 line and twice the reeling speed of a Tier 7 rod. Those figures belong to the earlier upgrade system.
For version 1.0, follow the boss unlock path for MOBY. Keep that progression change in mind when an older walkthrough sends you straight to a shop purchase.
Build your GONE Fishing fishing pole progression around manageable catches, shared trinket upgrades, and preparation for the boss. Once MOBY is unlocked, take it to the Lake’s deep water for Rhizo.
Separate Required Gear From Recommended Gear
Rhizo requires MOBY. The Arctic’s Colossal Squid has a MOBY recommendation.
Prepare around the fish you are targeting. A rod unlock gives you access to a new challenge, while bait choice, fishing location, and hook execution still deserve attention.
Make Each Fishing Day Count
A reliable GONE Fishing fishing pole routine starts with catches you can land consistently. Bigger fish are useful only after you bring them in.
Fish species and size depend on several factors, including bait, depth, weather, map, and days survived. Some bait attracts particular species, while deeper water increases average fish size.
Change your setup deliberately. Try a different bait or depth when working toward another catch, and use a depth finder when searching for deep spots. Keep the daily quota in view while experimenting.
Feed the Altar Before Expanding Your Plans
Sacrifice fish at the altar to satisfy the lake’s hunger. Its flame turns blue when you have met the daily quota.
Secure that requirement before committing your remaining time to exploration or difficult catches. Sell surplus fish to fund purchases, and coordinate with teammates about which catches are heading to the altar.
Version 1.0 reworks multiplayer item prices, upgrade costs, and quota growth. Costs and quotas no longer scale linearly with player count, easing progression for larger groups.
Support Your Pole With Traps
Version 1.0 makes bait traps harvestable each morning after they catch bait overnight. Fish Traps also work overnight and require bait from your tacklebox.
The bait’s value affects the fish a Fish Trap collects. Jeb sells an upgrade that allows a Fish Trap to collect up to three fish per bait.
Pair a bait trap with a Fish Trap to support your daily fishing. Harvest the bait, use it to supply the Fish Trap, and collect its catch after the overnight cycle. This gives you another source of fish while leaving daytime available for active fishing and exploration.
Prepare Before Leaving the Cabin
Before taking your GONE Fishing fishing pole out for another session:
- Equip the pole and select your bait.
- Bring spare bait for additional casts.
- Choose a depth suited to your current setup.
- Coordinate shared trinket purchases with your group.
- Check quota progress before chasing a difficult fish.
Keep casting, strike timing, and tension control consistent as your equipment improves. That routine carries you from ordinary quota catches toward the boss, MOBY, and the Lake’s deeper challenges.
FAQ
Where do you get the GONE Fishing fishing pole?
Search the main spawn cabin, other cabins, and structures around the map. You can also buy a fishing pole from the trader. Select it in your hotbar and add bait through your inventory before casting.
How do you cast and reel with a fishing pole?
Hold the left mouse button to charge your cast, then release. When a fish bites, click as the red marker reaches the green zone. During reeling, hold LMB to pull the fish in and release it to reduce tension.
Are fishing progression upgrades shared in version 1.0?
Clinket’s trinket purchases and upgrades are shared with your friends. These eight trinkets form the new customizable progression system introduced in version 1.0.
How do you get MOBY, and what fish requires it?
Defeat the boss to unlock MOBY in version 1.0. Rhizo, the mythical fish found in deep water on the Lake map, requires the rod. MOBY is also recommended for the Arctic’s Colossal Squid.
Continue with
 GONE Fishing Heart: Revives, Extra Lives & Bait GuideLearn how the GONE Fishing heart revives teammates, grants a solo extra life, and becomes tier 6 bait with 99 bait score and doubled legendary catch odds.
More in Gear & Bait
GONE Fishing Bait Tier List: Heart to Worm Rankings
Use this GONE Fishing bait tier list to compare Heart, chopped bait, and early catches. Learn bait scores, trap changes, and how to spend rare bait wisely.
GONE Fishing Best Perks: Powerful Trinkets and Combos
Explore GONE Fishing best perks, the instant-catch trinket combo, shared upgrades, and starting perk effects to build your loadout for the 1.0 release.
GONE Fishing How to Get Boat: Spawns, Resets, and Tips
GONE Fishing how to get boat help: find map boats, use spawn and reset controls, recover a stuck vessel, and bring your fish back before darkness falls.
GONE Fishing PC Depth Finder: How to Use It Correctly
Learn how the GONE Fishing pc depth finder works, where to get it, and how to compare water depths while avoiding outdated upgrade tips and display issues.
Join the community
Official channels for news, updates and player help: